artitalk可以在不同平台上实时更新说说,但是artitalk作者很久没有更新,很多功能需要自己修改,有点麻烦。杜老师Leonus的memos搭建的短文也是相同功能,相对好上手。

前提

1、有自己的域名
2、如果使用LeanCloud国内版,需要对域名进行备案
3、如果使用LeanCloud国际版,由于国际版共享域名不再向中国大陆提供服务,leancloud里的应用要绑定一个二级域名
4、以下内容示例使用的国际版LeanCloud


参考教程


示例


注册和配置LeanCloud

直接照搬Artitalk.js文档完成操作:

1、前往LeanCloud国际版 ,注册账号。
2、注册完成之后根据 LeanCloud 的提示绑定手机号和邮箱。
3、绑定完成之后点击创建应用,应用名称随意,接着在结构化数据中创建 class,命名为 shuoshuo。
4、(不大清楚) 在你新建的应用中找到结构化数据下的用户。点击添加用户,输入想用的用户名及密码。
5、回到结构化数据中,点击 class 下的 shuoshuo。找到权限,在 Class 访问权限中将 add_fields 以及 create 权限设置为指定用户,输入你刚才输入的用户名会自动匹配。为了安全起见,将 delete 和 update 也设置为跟它们一样的权限。
6、然后新建一个名为atComment的class,权限什么的使用默认的即可。
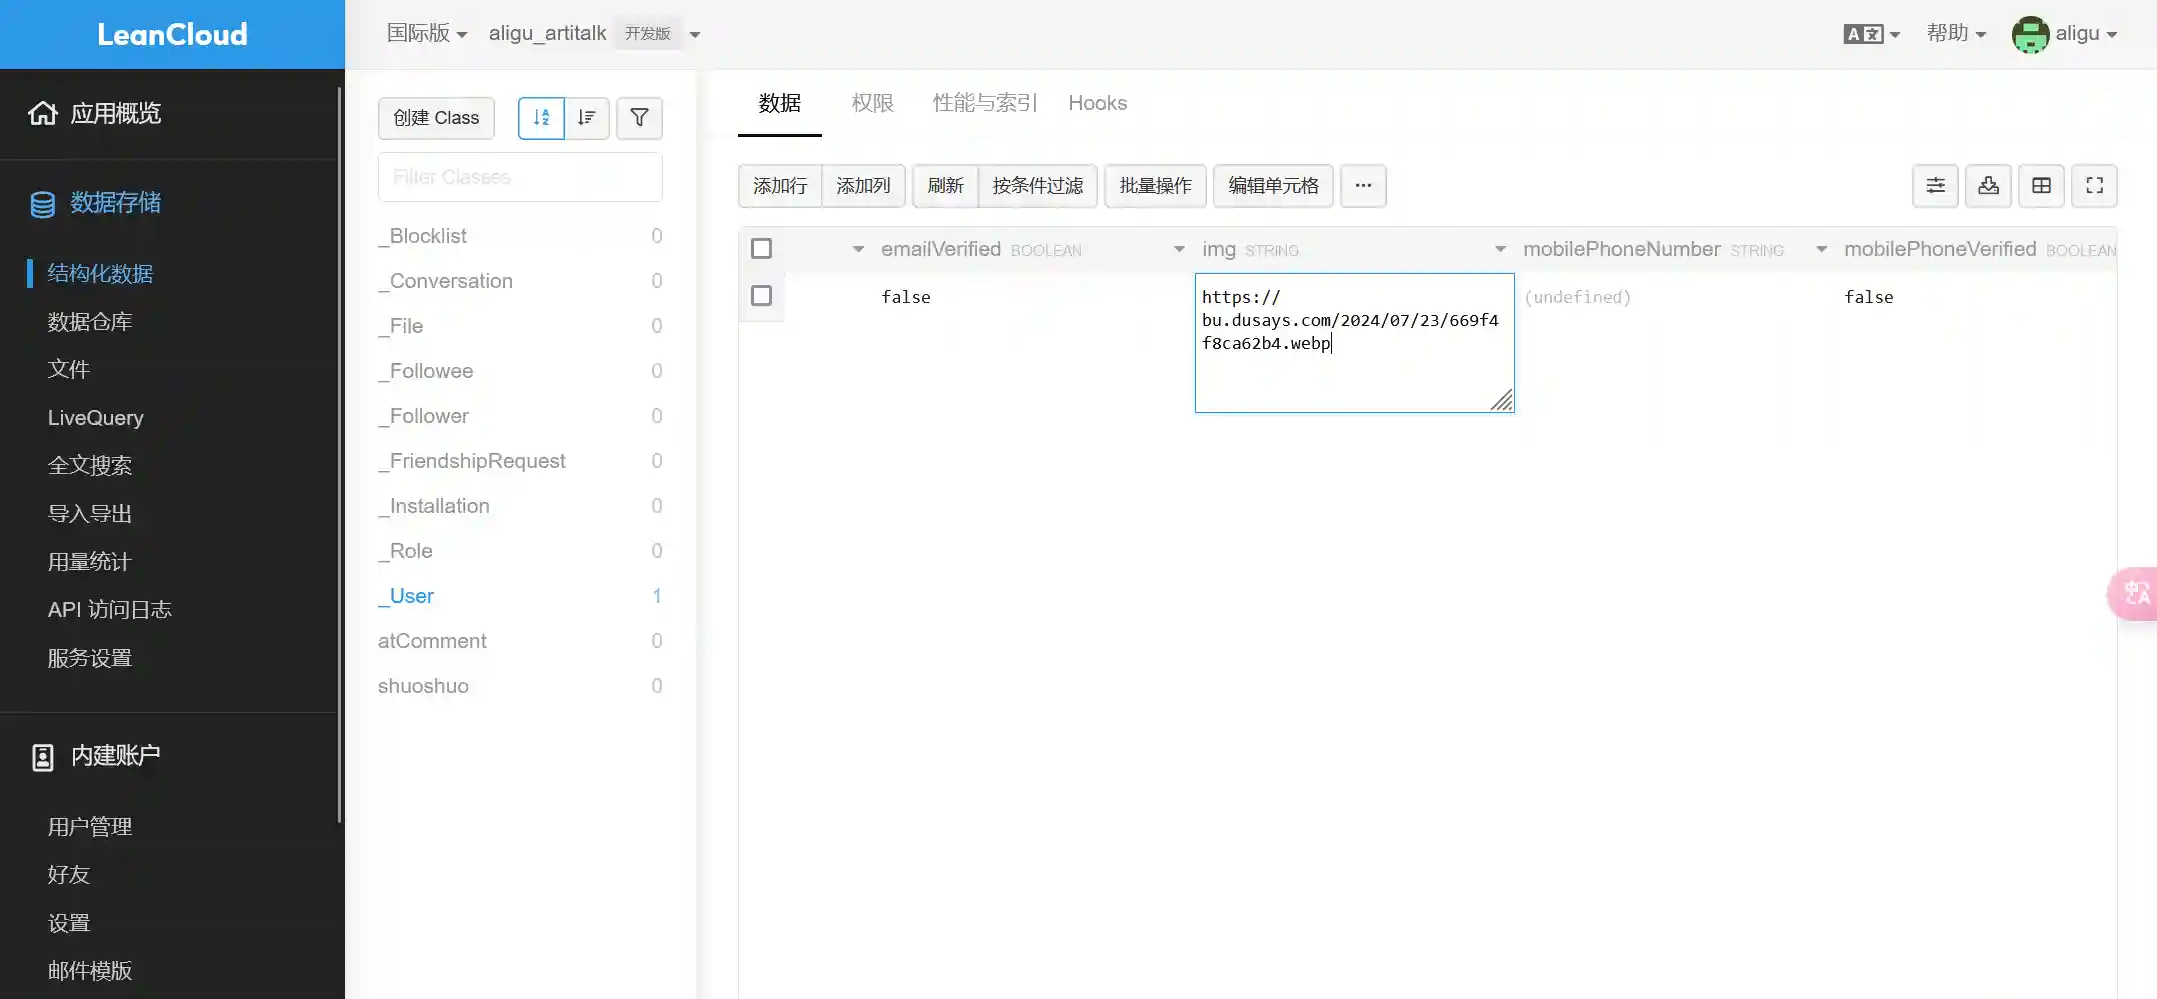
7、(有点问题) 点击 class 下的 _User 添加列,列名称为 img,默认值填上你这个账号想要用的发布说说的头像url,这一项不进行配置,说说头像会显示为默认头像 —— Artitalk 的 logo。
8、在左菜单栏中找到设置-> 应用凭证 Credentials,记下来 AppID 和 AppKey ,一会会用。
9、最后将 _User 中的权限全部调为指定用户,或者数据创建者,为了保证不被篡改用户数据以达到强制发布说说。

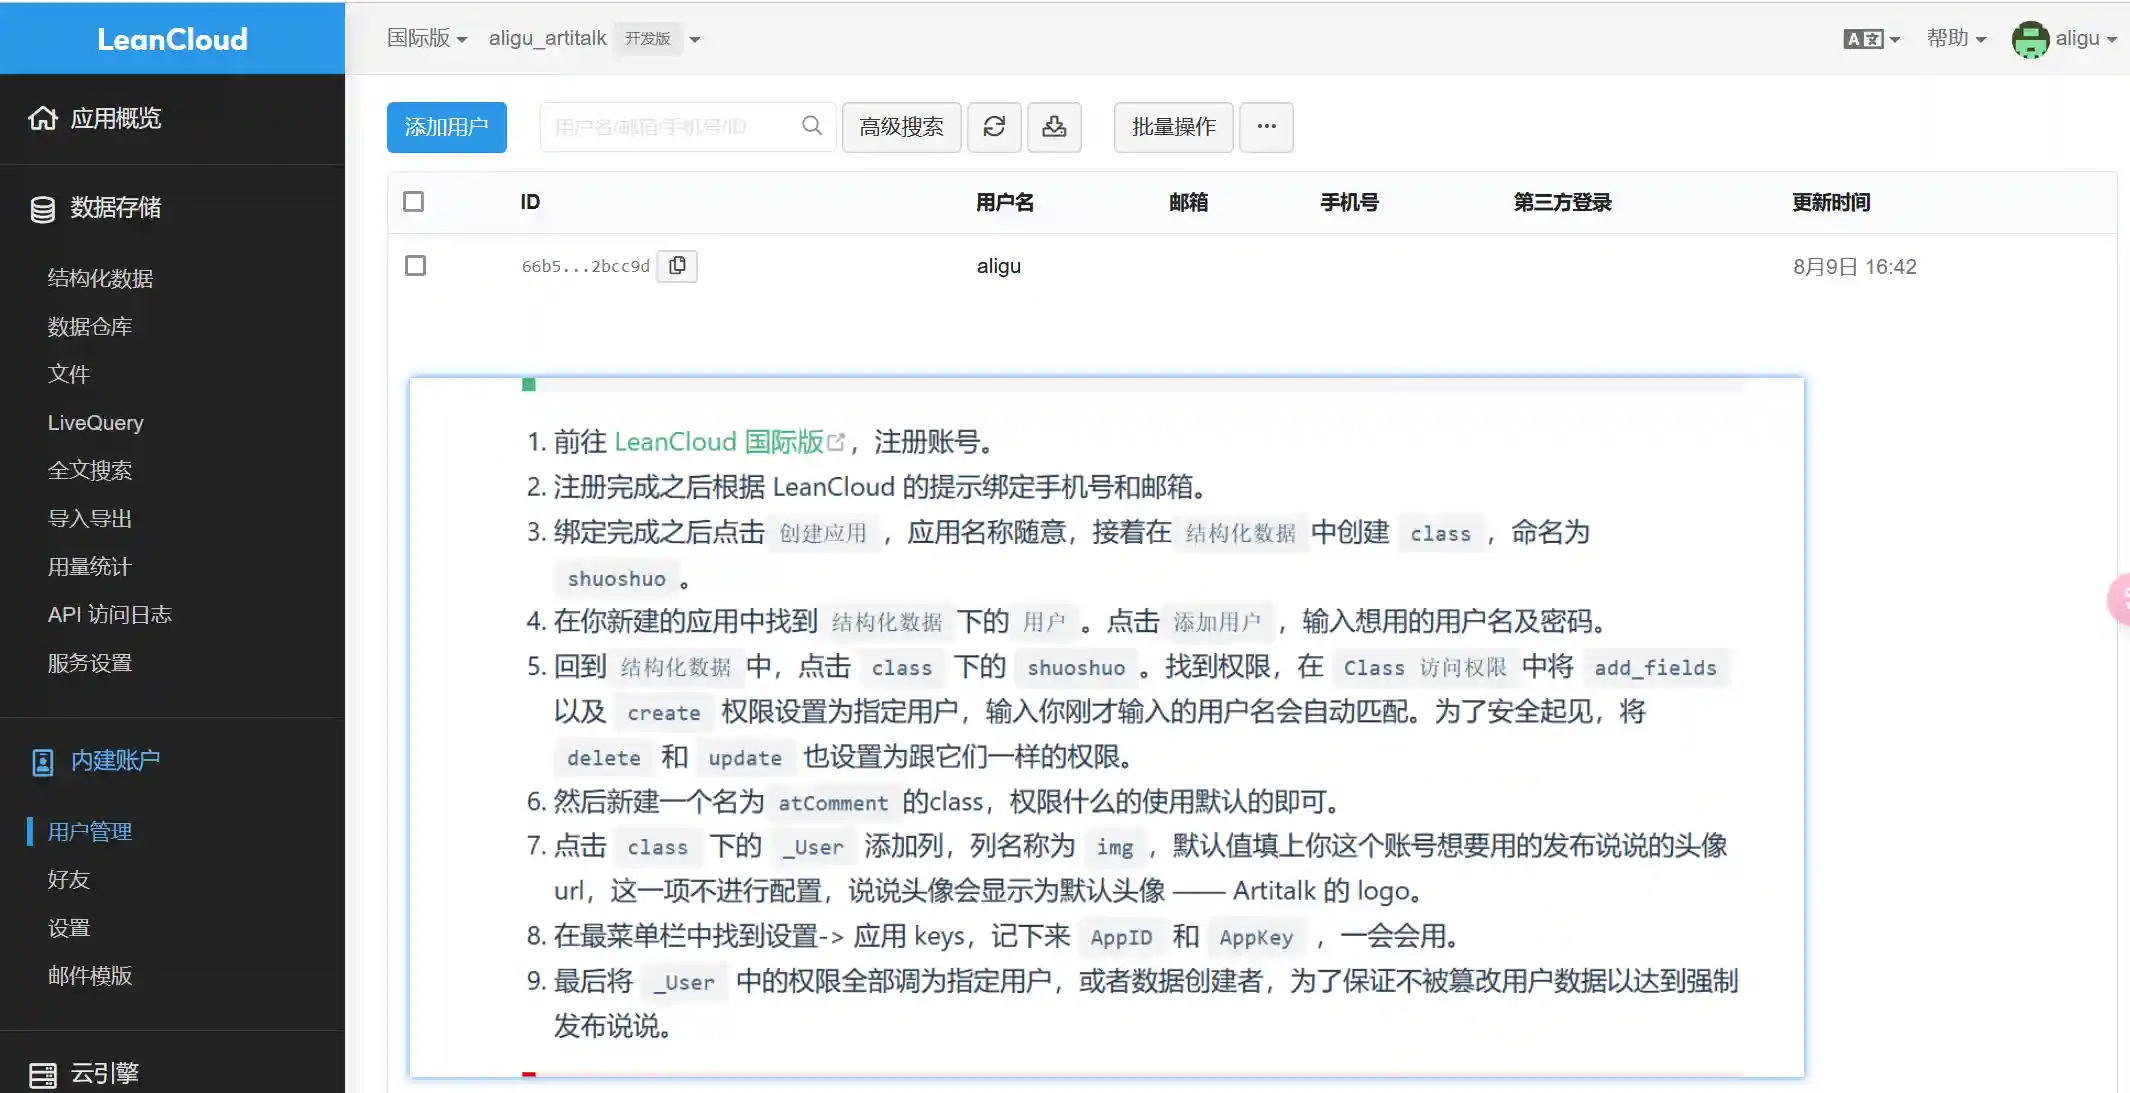
上述步骤4要在内建账户-用户管理中新建用户,如下图所示。

添加artitalk说说用户

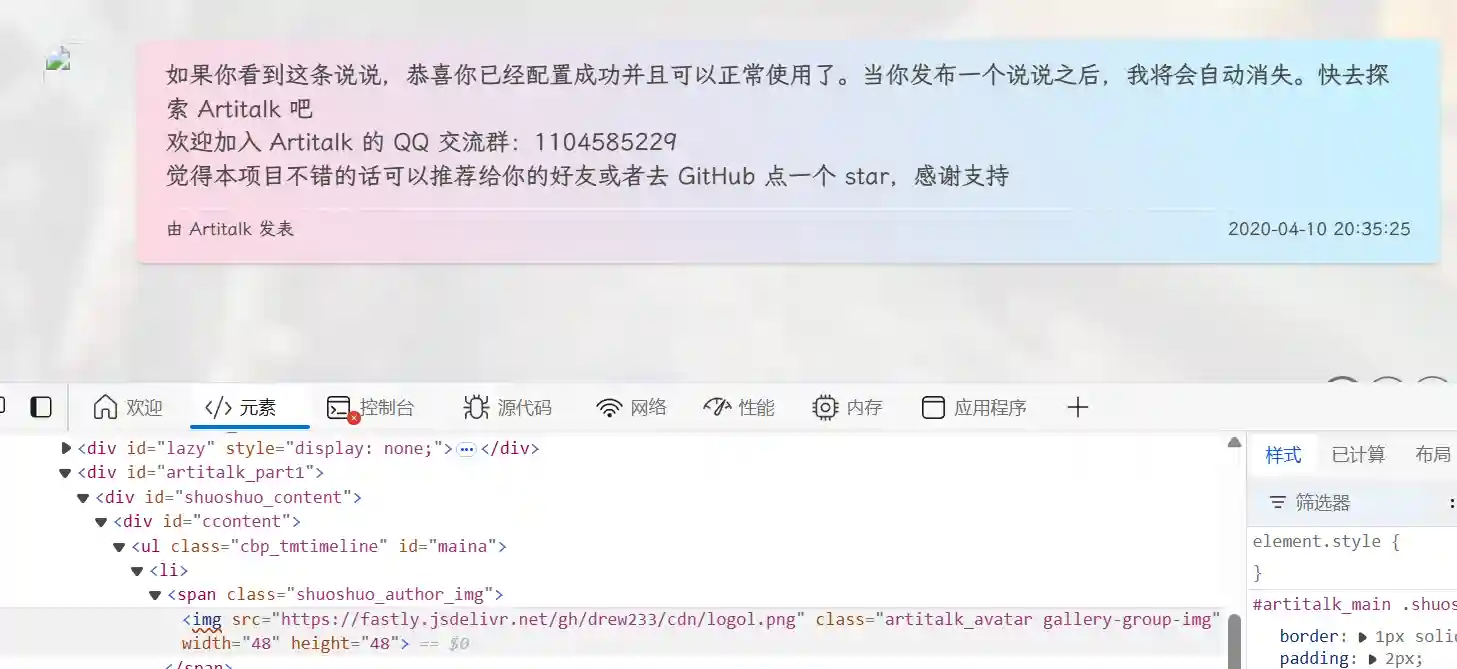
步骤7头像图片显示不了,最后把artitalk.js中头像链接全部换成图床图片链接。见下文修改artitalk.js代码。

默认的头像链接失效

修改后仍然无法使用头像


butterfly主题安装插件和配置使用

先安装原主题插件,但是其中的js配置文件部分链接经常失效,后续需要修改(见下文)。

安装插件

butterfly主题Hexo博客已经整合了artitalk功能,所以直接安装hexo-butterfly-artitalk插件即可:

1
npm install hexo-butterfly-artitalk

默认配置

相关的配置可参考Artitalk.js文档。在主题配置文件_config.butterfly.yml中添加artitalk默认配置如下:

1
2
3
4
5
6
7
8
9
10
# Artitalk
# see https://artitalk.js.org/
artitalk:
enable: true
appId:
appKey:
path:
js:
option:
front_matter:

我的配置

在主题配置文件_config.butterfly.yml中添加artitalk配置:

1
2
3
4
5
6
7
8
9
10
11
12
13
14
15
16
# Artitalk
# see https://artitalk.js.org/
artitalk:
enable: true
appId: #【必须】LeanCloud 创建的应用中的 AppID
appKey: #【必须】LeanCloud 创建的应用中的 AppKEY
path: #【可选】Artitalk 的路径名称(默认为 artitalk,生成的页面为 artitalk/index.html)
js: https://unpkg.com/aligu_artitalk@1.0.10/artitalk_aligu.js
option:
serverURL: 'https://artitalk.aligu.top'
pageSize: 10
atComment: 0 # 是否可评论
atEmoji:
color1: 'linear-gradient(60deg, #ffd7e4 0, #c8f1ff 93%)' # 说说背景色1(默认是橙色)
color2: 'linear-gradient(60deg, #ffd7e4 0, #c8f1ff 93%)' # 说说背景色2(默认是绿色)
color3: '#4c4948' # 说说文字内容颜色(默认是白色)

在自定义样式[BlogRoot]\source\css\custom.css中增加artitalk暗黑模式时的样式:

1
2
3
4
5
6
7
8
9
10
11
12
13
14
15
16
17
18
19
20
/*artitalk说说暗黑模式背景色和字体色*/
/*配置项https://artitalk.js.org/settings.html*/
[data-theme="dark"] #artitalk_main .cbp_tmtimeline>li:nth-child(odd) .cbp_tmlabel {
background: #2c2c2c;
}
[data-theme="dark"] #artitalk_main .cbp_tmtimeline>li .cbp_tmlabel {
background: #2c2c2c;
}
[data-theme="dark"] #artitalk_main .cbp_tmtimeline>li .cbp_tmlabel {
color: rgba(255, 255, 255, 0.9);
}
#operare_artitalk .at_button, #artitalk_main .at_button {
background-color: var(--btn-bg) !important;
color: var(--btn-color) !important;
border-radius: 0.5em !important;
}
#operare_artitalk .at_button, #artitalk_main .at_button:hover {
background-color: var(--btn-hover-color) !important;
}
/*artitalk说说暗黑模式背景色和字体色 end*/

新建说说

在hexo中新建page页:

1
hexo n page artitalk

在主题配置文件_config.butterfly.yml的menu中添加说说页面:

1
2
个人||fa-solid fa-user|| hide:
说说: /artitalk || fas fa-lightbulb

最后hexo博客三连:

1
2
3
hexo clean
hexo g
hexo s

此时就实现了artitalk的基本功能,但使用的leancloud国际版,打开说说页面一直无法加载(跨域?),后续还需要绑定一个二级域名:


绑定域名

打开LeanCloud artitalk应用右边菜单栏的设置-域名绑定,添加一个二级域名,如下图:

绑定新域名
生成DNS解析地址

然后在cloudflare中复制上述CNAME地址到域名的DNS地址中进行解析。

将解析后的域名添加到主题配置文件artitalk项中:

1
2
option: 
serverURL: 'https://artitalk.example.com'

至此就可以打开说说了。


修改和引用插件中的js文件

修改artitalk.js文件

artitalk中表情和头像图片链接经常无法打开,可能会影响页面加载速度,所以要更换表情和头像图片链接。

打开hexo-butterfly-artitalk插件代码Code/hexo-butterfly-artitalk/index.js:

1
2
3
4
5
6
7
8
9
10
11
12
13
14
15
16
17
18
19
20
21
22
23
24
25
26
27
28
'use strict'

const pug = require('pug')
const path = require('path')
const urlFor = require('hexo-util').url_for.bind(hexo)
hexo.extend.generator.register('artitalk', function (locals) {
const config = hexo.config.artitalk || hexo.theme.config.artitalk
if (!(config && config.enable)) return
const data = {
appId: config.appId,
appKey: config.appKey,
option: config.option ? JSON.stringify(config.option) : false,
js: config.js ? urlFor(config.js) : 'https://cdn.jsdelivr.net/npm/artitalk'
}
const content = pug.renderFile(path.join(__dirname, './lib/html.pug'), data)
const pathPre = config.path || 'artitalk'
let pageDate = {
content: content
}
if (config.front_matter) {
pageDate = Object.assign(pageDate, config.front_matter)
}
return {
path: pathPre + '/index.html',
data: pageDate,
layout: ['page', 'post']
}
})

此时发现butterfly主题中artitalk的所有功能都集中在https://cdn.jsdelivr.net/npm/artitalk 文件中,浏览器中打开这个链接,代码复制到本地进行修改,我命名为artitalk_aligu.js。

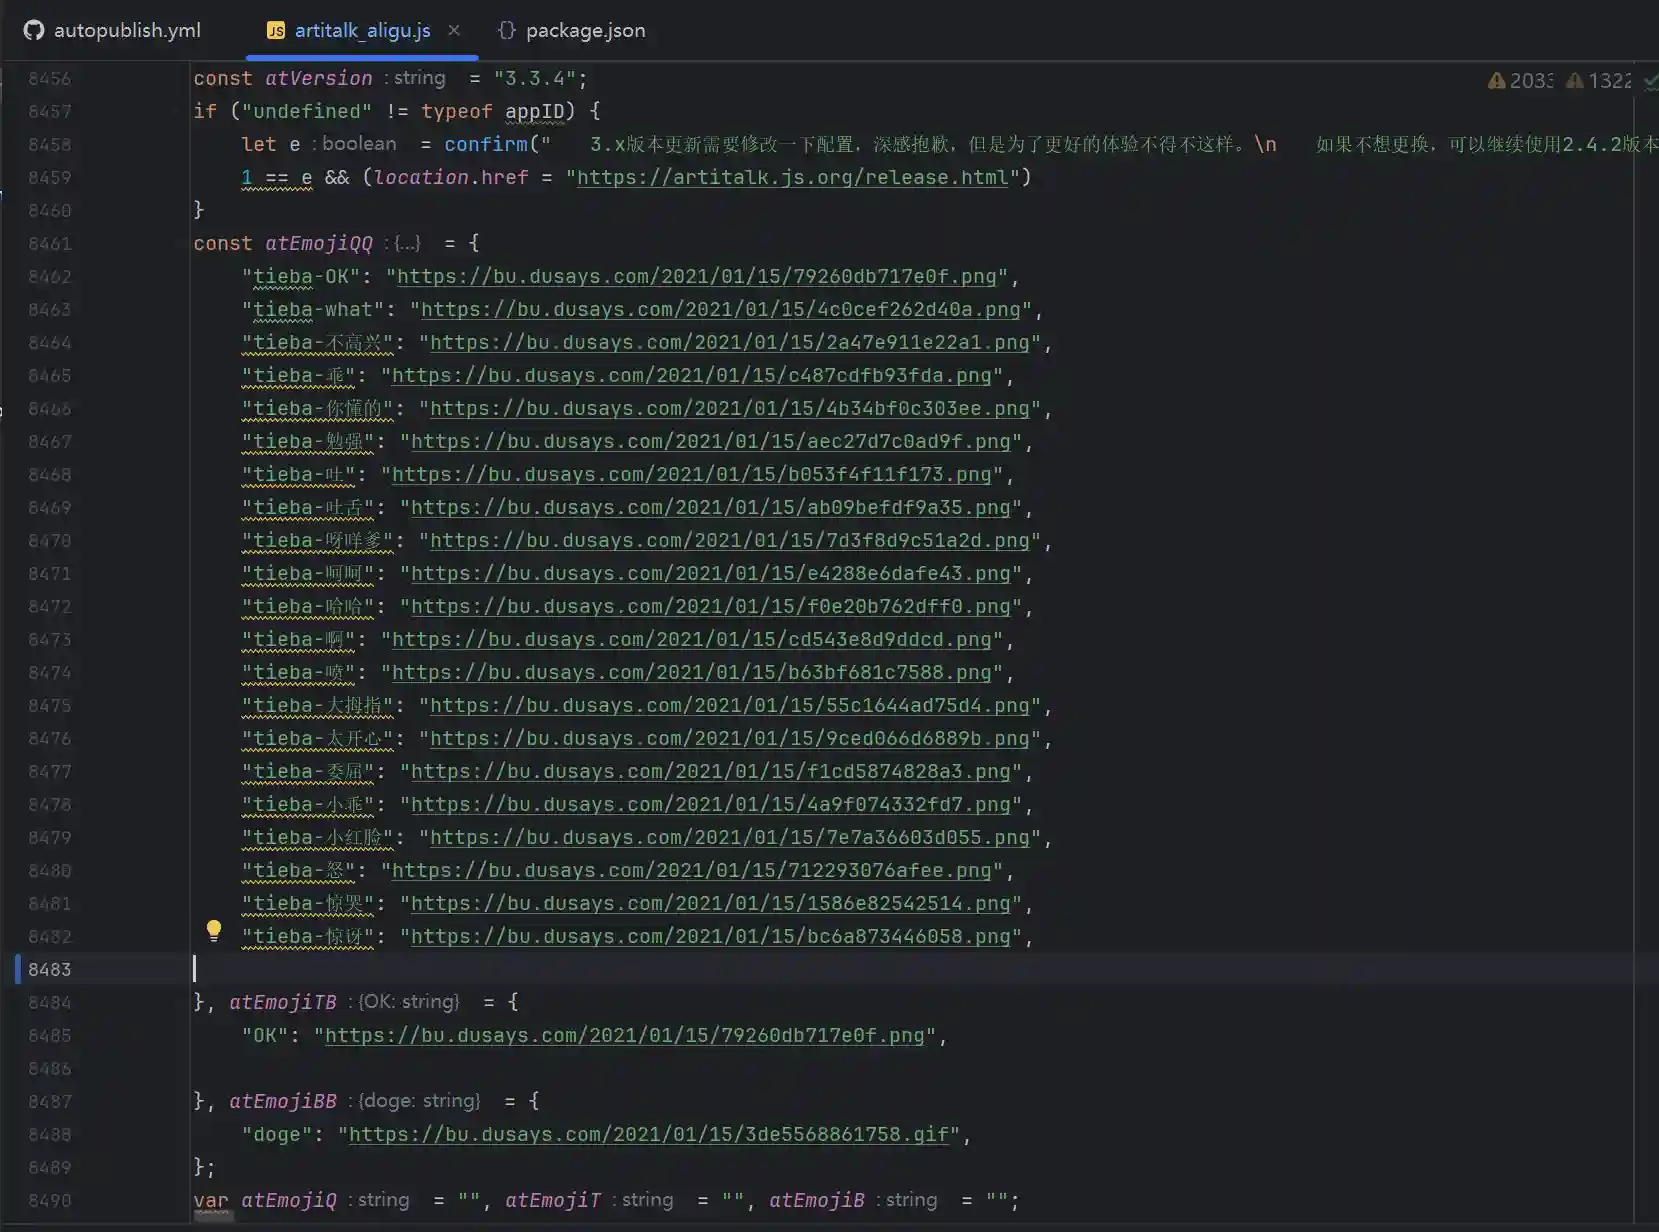
修改表情图片链接,大概在8460行开始,如下图:
修改表情图片链接

表情链接可以参考大佬们提供的:

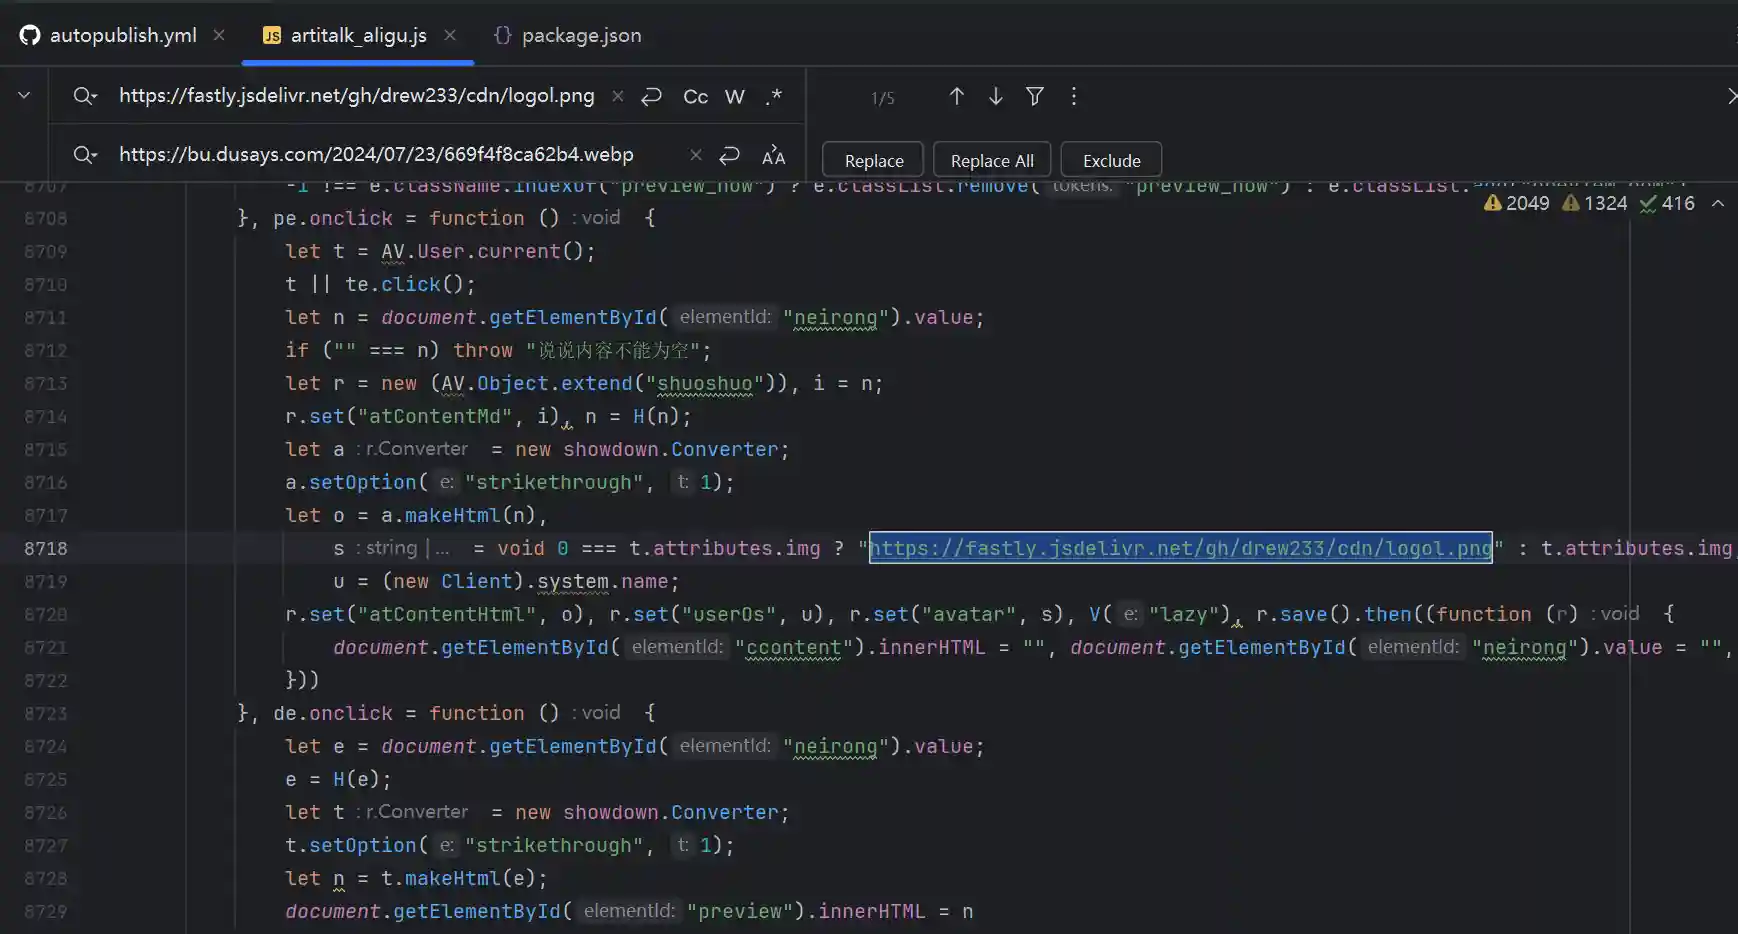
头像图片链接的更换,可以Ctrl+F找到 https://fastly.jsdelivr.net/gh/drew233/cdn/logol.png 并Ctrl+R 全部替换为自己的头像链接:

修改头像图片链接

把修改后的js文件放在hexo博客[BlogRoot]\source\js目录中,在主题配置文件中_config.butterfly.yml,inject引入使用,至此就基本可以使用说说了。

1
2
3
4
5
6
7
8
# Inject
# Insert the code to head (before '</head>' tag) and the bottom (before '</body>' tag)
# 插入代码到头部 </head> 之前 和 底部 </body> 之前
inject:
head:
- <link rel="stylesheet" href="/css/custom.css">
bottom:
- <script src="/js/artitalk_aligu.js"></script>

cdn引入artitalk.js文件(自用)

由于artitalk_aligu.js文件内容太多,560KB,我使用的gulp好像压缩不了超过500KB的js文件,就把它放在npm上了。

参考店长存放静态资源到npm上的教程:

存放在npm上后再在主题配置文件artitalk项中引入覆盖掉插件中默认的:

1
2
3
artitalk:
js: https://unpkg.com/aligu_artitalk@1.0.10/artitalk_aligu.js
option:


发布说说

进入说说页面,在右下角输入LeanCloud中artitalk应用注册的用户和密码登录。由于默认的图床已经失效,用markdown语法在说说中发布图片和视频。

图片

1
![](https://bu.dusays.com/2024/08/05/66b032a059ac0.gif)

视频

视频的发布我只能引入b站链接:

1
2
3
4
5
6
7
8
9
<div class="aspect-ratio">  
<iframe src="https://player.bilibili.com/player.html?aid=789618187&&page=1&as_wide=1&high_quality=1&danmaku=0&autoplay=0"
scrolling="no"
border="0"
frameborder="0"
framespacing="0"
allowfullscreen="true">
</iframe>
</div>

音乐

我是引用网易云的外链播放器生成的html代码,但是在移动端暂时不会适配,只能修改宽度width适配手机屏幕:

1
<iframe frameborder="no" border="0" marginwidth="0" marginheight="0" width=230 height=86 src="//music.163.com/outchain/player?type=2&id=2140097072&auto=1&height=66"></iframe>