建站tips
博客使用插件
本博客使用的框架是Hexo@7.2.0,主题是butterfly@4.13.0,大部分用到的插件列表如下:
| 用途 | 名称 | 说明 |
|---|---|---|
| 网站统计 | 不蒜子 | 已更换为杜老师的 |
| 图标 | font-awesome v5 | 主题自带 |
| 静态资源压缩 | gulp | 见店长 |
| github日历 | githubchart-api | 见百里飞洋 |
| 文章唯一链接 | hexo-abbrlink | 见文章 |
| B站追番页 | hexo-bilibili-bangumi | 见Hclonely、示例 |
| 文章加密 | hexo-blog-encrypt | 见文章、示例 |
| 说说 | hexo-butterfly-artitalk | 见文档、示例 |
| 首页分类磁贴 | hexo-butterfly-categories-card | 见店长 |
| 侧边栏电子钟 | hexo-butterfly-clock | 见安知鱼 |
| 留言板 | hexo-butterfly-envelope | 见文章、示例 |
| 轮播图 | hexo-butterfly-swiper-lyx@1.0.1 | 见June |
| Git部署 | hexo-deployer-git | 框架自带 |
| 豆瓣插件 | hexo-douban | 见示例 |
| emoji表情 | hexo-filter-github-emojis | 见文章 |
| 数学公式 | hexo-filter-mathjax | 见文章 |
| SEO优化 | hexo-filter-nofollow | 见ConstOwn |
| 归档 | hexo-generator-archive | 框架自带 |
| SEO优化 | hexo-generator-baidu-sitemap | 见ConstOwn |
| 分类 | hexo-generator-category | 框架自带 |
| RSS | hexo-generator-feed | 见百里飞洋 |
| 本地搜索 | hexo-generator-search | 主题自带 |
| SEO优化 | hexo-generator-sitemap | 见ConstOwn |
| 标签 | hexo-generator-tag | 框架自带 |
| PDF预览 | hexo-pdf | 见文章 |
| 渲染mathjax | hexo-renderer-kramed | 见主题文档 |
| 支持pug | hexo-renderer-pug | 框架自带 |
| 支持stylus | hexo-renderer-stylus | 框架自带 |
| 交互式地图 | hexo-tag-map | 见文章 |
| 字数统计 | hexo-wordcount | 见网站资讯栏 |
| Pjax | pjax | 主题自带 |
| 评论 | waline | 见主题文档 |
CDN相关


修改侧边栏分类排序规则

网页Logo图标找寻。
在目标网站的首页网址后加上/favicon.ico并敲下Enter,可以得到近90%网站的 Logo 图标。
cdn代码引用
cdn生成的css,下载下来存放在本地自定义地方[Blogroot]/source/css/首页分类磁贴样式.css,以防增加别人网站负载。
custom_css: https://npm.elemecdn.com/hexo-butterfly-categories-card@1.0.0/lib/categorybar.css
使用相对路径,省略了主题文件夹的路径,因为 Hexo 在生成网站时会将必要的资源文件复制到 public/ 目录中,并调整它们的路径以便正确引用
1 | # hexo-butterfly-categories-card 首页分类磁贴 |
页面页脚高度控制
页面页脚高度控制在[BlogRoot]\themes\butterfly\source\css_layout\footer.styl
1 | #footer-wrap |
表情符号Unicode的使用
pug文件中可以直接使用表情符号Unicode https://emojipedia.org/
1 | a(href='https://aligu99.github.io' title='aligu99🚀') |
css控制markdown中的样式
在markdown中的样式可以通过css控制,比如B站标签外挂:
1 | .bilibili-container { |
然后再markdown中应用:
1 | <div class="bilibili-container"> |
自带标签外挂渲染html使用
butterfly自带的标签外挂,在文章中使用标签外挂,渲染出来之后直接复制html使用。比如,在javascript中好像markdown用不了,但是html可用
1 | {% hideToggle Butterfly安裝方法 %} |
Butterfly安裝方法
content
1 | <details class="toggle"> |
Butterfly 安裝方法
content
Spawn failed
科学上网后部署网站出现:Failed to connect to github.com port 443 after 21154 ms: Couldn’t connect to server
配置http代理
1 | git config --global http.proxy 127.0.0.1:7890 |
查看代理命令
1 | git config --global --get http.proxy |
取消代理命令
1 | git config --global --unset http.proxy |
首页文章卡片分类标签
F12查看Ariasaka首页文章卡片右上角标签样式好看,就把原来的样式修改了,在[BlogRoot]\themes\butterfly\layout\includes\mixins\post-ui.pug中修改:
1 | if (theme.post_meta.page.categories && article.categories.data.length > 0) |
同时在custom.css中添加卡片右上角样式:
1 | /*文章卡片右上角分类标签 参照https://blog.yaria.top/*/ |
解决 Vercel 部署网站被墙
按照下方教程解析的域名,记录部分内容备忘。

域名解析的IP地址,二选一:
1 | CNAME: name-china.vercel-dns.com |
npm更改镜像
查看当前配置的镜像源:
1 | npm config get registry |
如果当前是官方镜像源https://registry.npmjs.org/, 可更改为淘宝镜像源:
1 | npm config set registry https://registry.npm.taobao.org/ |
确认镜像源已成功更改,可以再次运行以下命令来验证:
1 | npm config get registry |
恢复到官方源:
1 | npm config set registry https://registry.npmjs.org/ |
更改仓库(自用)
有时候要使用京东云服务器练手,顺便备份资源,将本地仓库和远程仓库关同时在京东云和Github远程仓库切换:
切换到京东云服务器,在博客文件根目录[BlogRoot]终端输入:
1 | git remote add origin git@服务器IP:/home/repo/hexo.git |
由于我会删除文件,所以用origin。不删除用main/master?
切换到Github,在博客文件根目录[BlogRoot]终端输入:
1 | git remote add main https://github.com/aligu99/myblog.git |
PS:记录下初次将本地仓库资源拉取到Github远程仓库完整指令:
1 | git init # 初始化仓库 |
以上内容在Desktop上也可以操作,但是更换仓库的操作还没找到,故备忘下过程。
连接FTP读取目录列表失败
用京东云服务器作为FTP服务器练练手,期间各种问题,记录下部分重要过程:
下载filezilla客户端连接FTP服务器,按照正常操作,宝塔面板已经默认放开20、21、22、80、443端口,参考一些资料也放开了39000-40000端口,客户端使用默认设置连接失败。
接着又在宝塔面板中的FTP服务器Pure-FTPd1.0.49中的配置里修改:
1 | # ForcePassiveIP 192.168.0.1 |
修改为:
1 | ForcePassiveIP 服务器的外网IP |
然后就出现以下
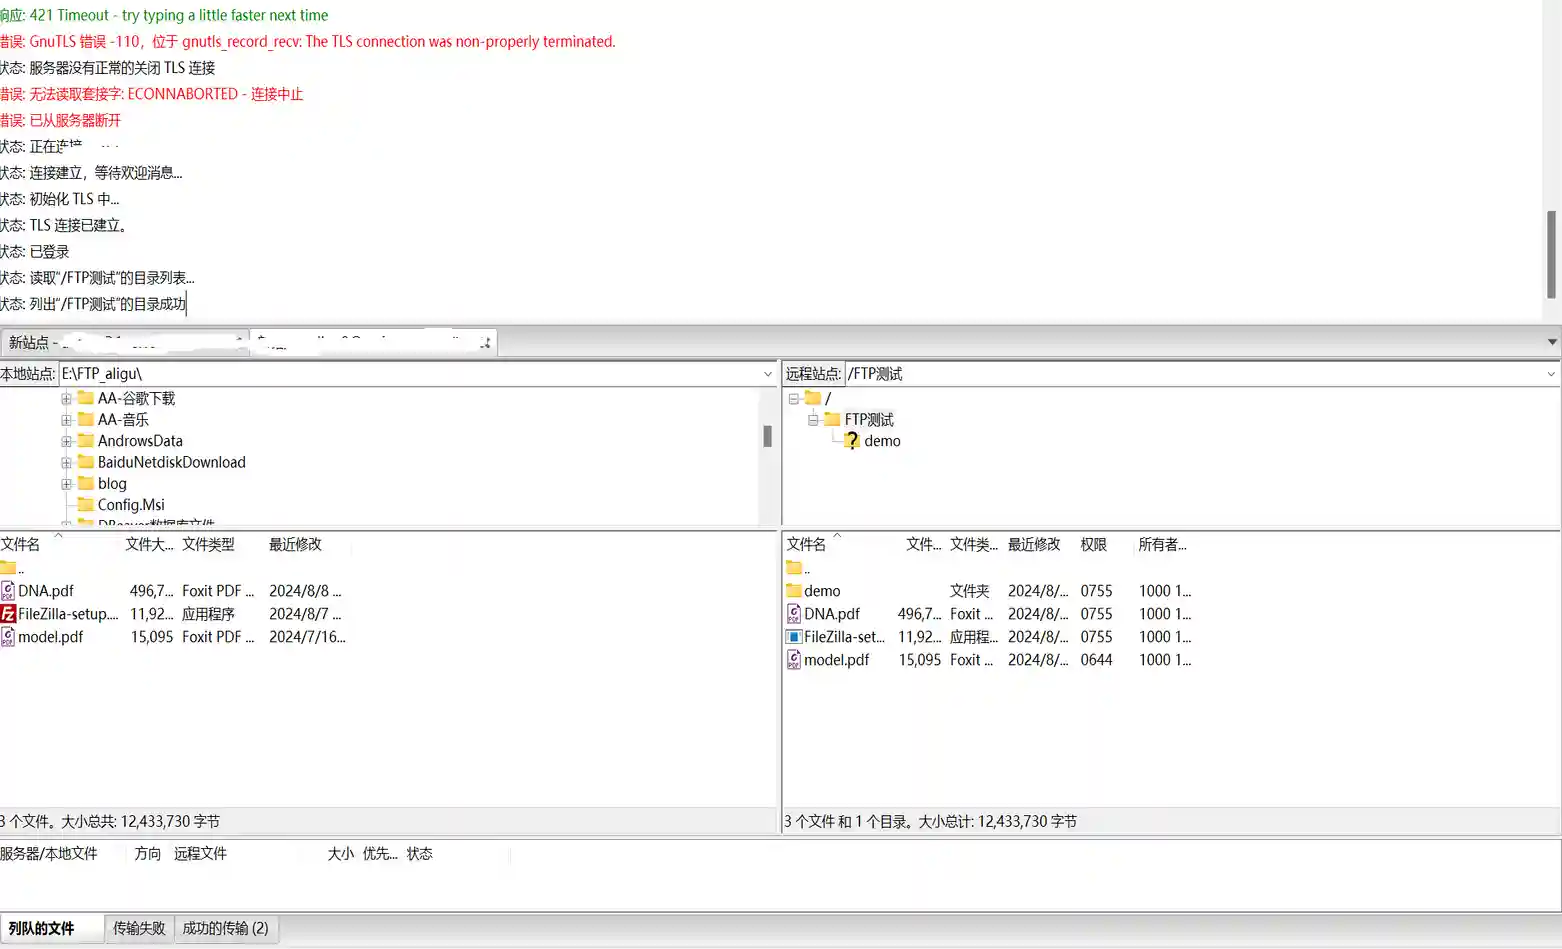
读取目录列表失败问题:1 | 状态: 连接建立,等待欢迎消息... |
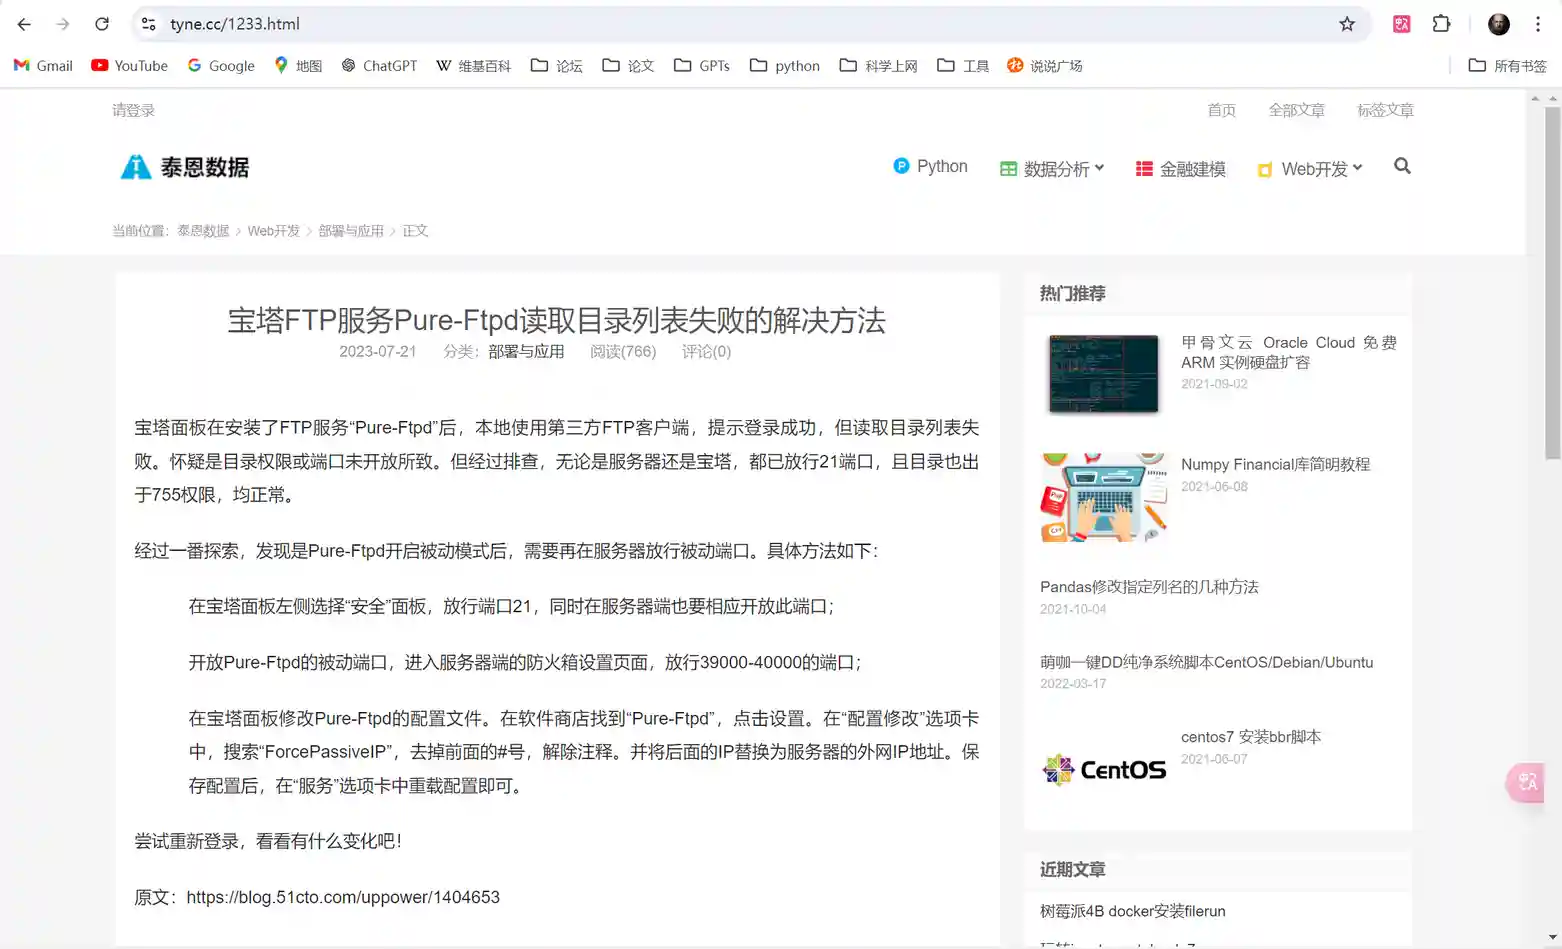
不管是调整主被动模式、更换客户端、查看光猫还是修改防火墙都没解决,最后随意看到一个网页提醒需要在云服务器的防火墙中放开端口,查看后发现39000-40000端口没有放开:
设置完后就OK了:


